Building a high-converting landing page is crucial for any business looking to increase its online presence, generate leads, and drive sales. With Elementor, the process becomes not only manageable but also enjoyable. In this comprehensive guide, we’ll walk you through each step to create a stunning and effective landing page using Elementor. Whether you’re a seasoned web designer or a complete beginner, this guide is for you.

Why Use Elementor for Your Landing Page?
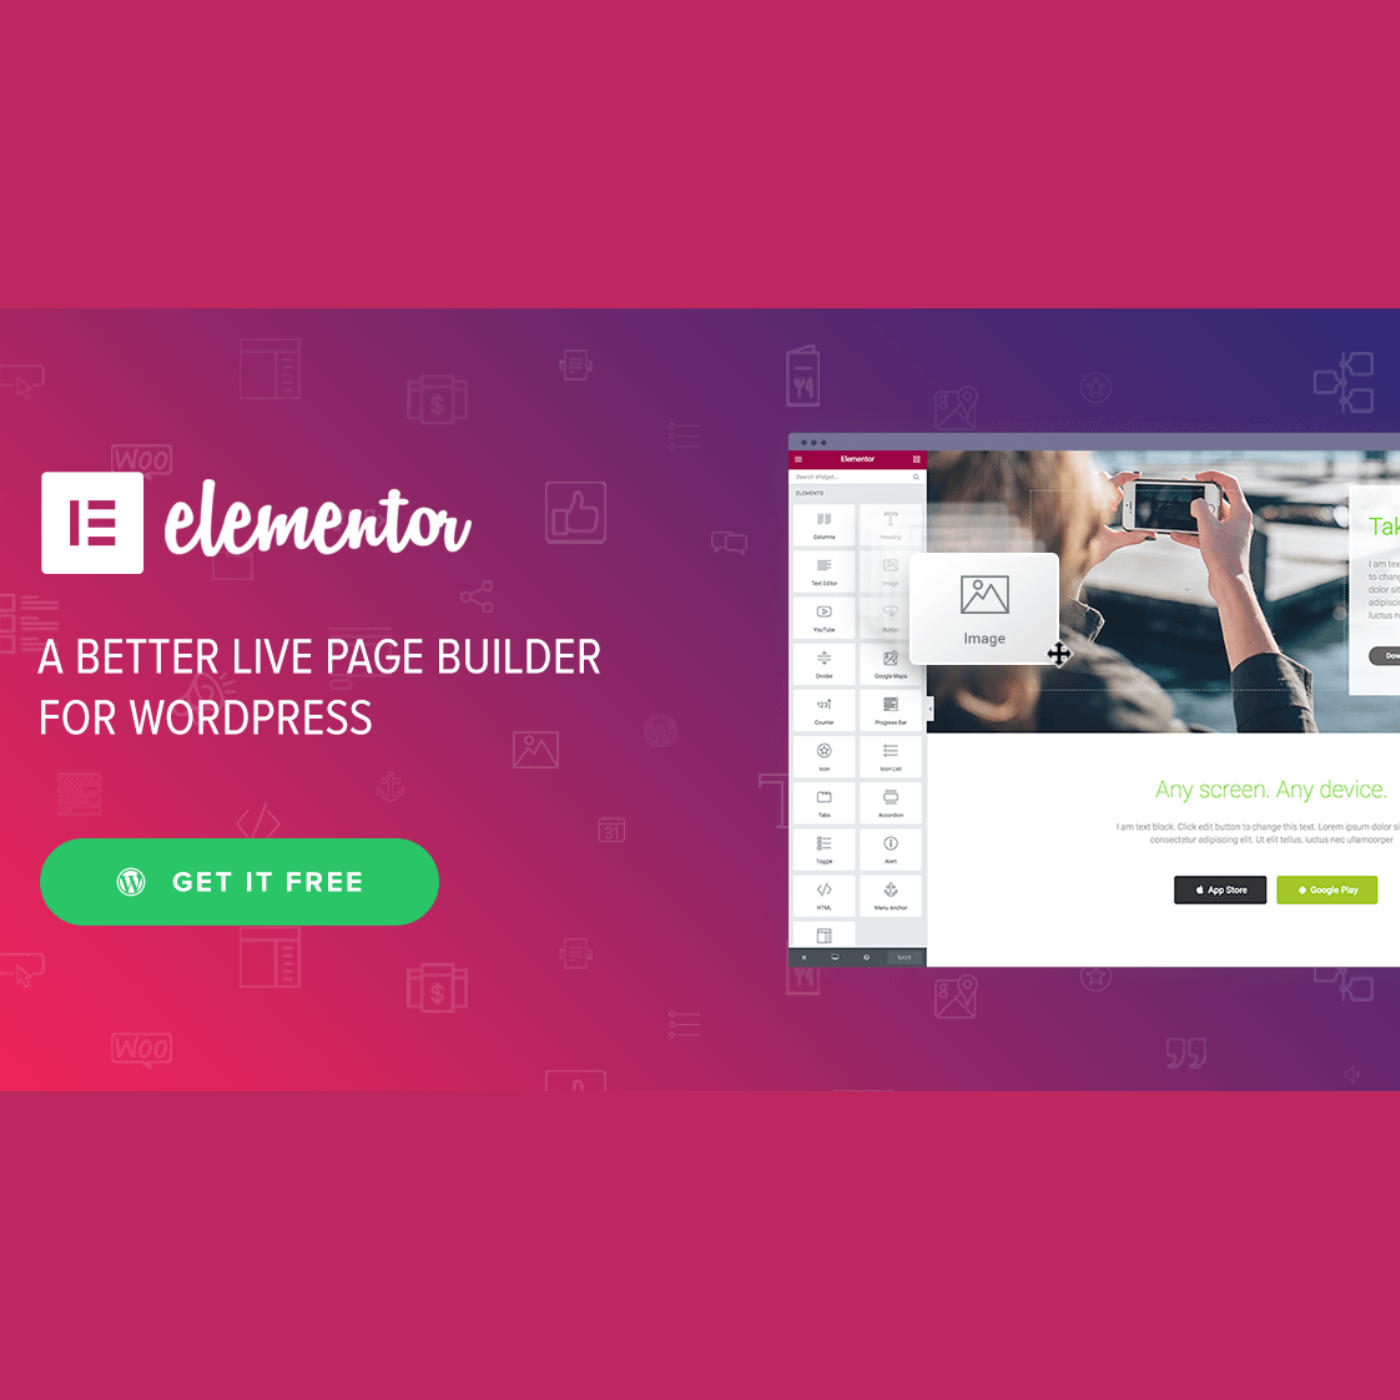
Elementor is one of the most popular page builders for WordPress, and for good reason. It offers a user-friendly drag-and-drop interface, a vast library of templates and widgets, and powerful design capabilities. Here’s why Elementor is the ideal tool for building landing pages:
1. Ease of Use: Elementor’s intuitive interface makes it easy to design professional-looking pages without any coding skills.
2. Customization: With countless design options and advanced customization features, you can create a unique and branded landing page.
3. Responsive Design: Elementor ensures your landing page looks great on all devices, which is crucial for conversion rates.
4. Fast Loading: Elementor is optimized for performance, ensuring your landing pages load quickly and efficiently.
5. Integration: Easily integrate with marketing tools like Mailchimp, HubSpot, and Google Analytics to track and optimize your campaigns.
Setting Up Your Elementor Environment
Step 1: Install Elementor and Elementor Pro
To get started, you need to have Elementor installed on your WordPress site. While the free version of Elementor offers many great features, Elementor Pro provides advanced functionalities and more design options that are essential for building high-converting landing pages.
1. Install Elementor: Go to your WordPress dashboard, navigate to Plugins > Add New, and search for “Elementor.” Click “Install Now” and then “Activate.”
2. Upgrade to Elementor Pro: Purchase the Elementor Pro license from the official Elementor website, download the Pro plugin, and upload it to your WordPress site via Plugins > Add New > Upload Plugin.
Step 2: Choose a Landing Page Template
Elementor Pro offers a variety of professionally designed landing page templates. These templates serve as a great starting point, allowing you to customize and tweak the design according to your needs.
1. Navigate to Templates: In your WordPress dashboard, go to Templates > Add New.
2. Select a Template Type: Choose “Landing Page” as the template type.
3. Choose a Template: Browse through the available templates and select one that fits your campaign’s goal. Click “Insert” to add it to your page.
Designing Your High-Converting Landing Page
Step 3: Customize the Header
The header of your landing page should immediately capture visitors’ attention and convey the core message of your offer.
1. Add a Compelling Headline: Use a clear, bold headline that communicates the main benefit of your product or service. For example, “Transform Your Website with Our Easy-to-Use Page Builder.”
2. Include a Subheadline: Provide additional information or a secondary benefit to reinforce the headline. For example, “No coding skills required. Build stunning pages in minutes.”
3. Add a Call to Action (CTA): Your CTA should be prominent and action-oriented. Use phrases like “Get Started Now,” “Sign Up Today,” or “Download Free Guide.”
Step 4: Use High-Quality Images and Videos
Visual content plays a significant role in engaging visitors and enhancing the overall user experience.
1. Choose Relevant Images: Use high-resolution images that are relevant to your product or service. Avoid stock photos that look generic.
2. Add Videos: Incorporate explainer videos or testimonials to build trust and provide a more in-depth look at your offering. Elementor makes it easy to embed videos from YouTube or Vimeo.
Step 5: Highlight Key Benefits
Clearly outline the benefits of your product or service. Use bullet points or icons to make this section easy to scan.
1. Create Benefit Sections: Use Elementor’s Icon Box or Text Editor widget to list the key benefits. For example, “Easy Drag-and-Drop Builder,” “Responsive Design,” “Advanced Customization Options.”
2. Use Visual Aids: Enhance your benefit statements with icons or images that illustrate each point.
Step 6: Add Social Proof
Social proof, such as testimonials, reviews, and case studies, can significantly increase your landing page’s credibility.
1. Include Testimonials: Use Elementor’s Testimonial widget to add customer testimonials. Highlight their positive experiences and specific results.
2.Display Reviews: If your product has received positive reviews on platforms like Google or Trustpilot, showcase these on your landing page.
3. Showcase Case Studies: If applicable, include case studies that detail how your product has helped other customers achieve their goals.
Step 7: Create a Sense of Urgency
Encouraging visitors to take immediate action can boost your conversion rates. Use urgency and scarcity techniques strategically.
1. Limited Time Offers: Highlight any limited-time discounts or promotions. Use Elementor’s Countdown widget to add a countdown timer.
2. Scarcity Tactics: Mention limited availability of your product or a limited number of spots for a webinar or event.
Step 8: Optimize Your Call to Action (CTA)
Your CTA is the most critical element of your landing page. It needs to be clear, compelling, and easy to find.
1. Use Contrasting Colors: Make your CTA button stand out by using a color that contrasts with the rest of your page.
2. Action-Oriented Text: Use strong, action-oriented language for your CTA. For example, “Download Now,” “Get Instant Access,” or “Join the Webinar.”
3. Repeat the CTA: Place your CTA button in multiple locations on your page – at the top, middle, and bottom – to ensure visitors can easily take action no matter where they are on the page.
Enhancing Functionality with Elementor Widgets
Step 9: Use Advanced Widgets
Elementor Pro offers a variety of advanced widgets that can enhance the functionality and design of your landing page.
1. Forms: Use the Form widget to create custom forms for capturing leads. Integrate these forms with your email marketing service for seamless lead management.
2. Pricing Tables: If you’re selling a product or service, use the Pricing Table widget to clearly display your pricing plans and features.
3. Slides and Carousels: Use the Slides or Carousel widget to showcase multiple images, testimonials, or case studies in an interactive way.
Step 10: Optimize for Mobile
With more people browsing the web on their mobile devices, it’s essential to ensure your landing page is fully responsive.
1. Use Elementor’s Mobile Editing Tools: Switch to the mobile view in Elementor’s editor to customize how your page looks on different devices.
2. Adjust Font Sizes and Spacing: Ensure that text is readable and buttons are easily clickable on smaller screens.
3. Test Across Devices: Test your landing page on various devices and screen sizes to ensure a seamless user experience.
Analyzing and Improving Your Landing Page
Step 11: Integrate Analytics
Tracking your landing page’s performance is crucial for understanding what works and what needs improvement.
1. Google Analytics: Integrate Google Analytics to track visitor behavior, conversion rates, and other key metrics.
2. Heatmaps: Use tools like Hotjar to create heatmaps and understand how visitors interact with your page.
Step 12: A/B Testing
A/B testing allows you to compare different versions of your landing page to determine which performs better.
1. Test Different Elements: Experiment with different headlines, images, CTAs, and other elements to see what resonates most with your audience.
2. Use A/B Testing Tools: Tools like Google Optimize or Optimizely can help you set up and analyze your A/B tests.
Step 13: Optimize Loading Speed
A fast-loading landing page is critical for keeping visitors engaged and improving your conversion rates.
1. Optimize Images: Use compressed images to reduce loading times. Tools like TinyPNG can help.
2. Use a Caching Plugin: Install a caching plugin like WP Rocket to improve your site’s performance.
3. Enable Lazy Loading: Use Elementor’s built-in lazy loading feature to ensure images load only when they are about to be viewed.
Launch and Monitor Your Landing Page
Creating a high-converting landing page with Elementor involves a combination of strategic design, compelling content, and continuous optimization. By following this step-by-step guide, you can build a landing page that not only looks great but also drives results.

Elementor is the leading website builder platform for professionals on WordPress. Managed WordPress Hosting + Elementor Pro Builder + Theme + Premium Support – all in one
Remember, the key to a successful landing page is ongoing analysis and improvement. Monitor your page’s performance, gather data, and make adjustments as needed to ensure you’re getting the best possible results.
Ready to start building? With Elementor, you have all the tools you need to create an effective, high-converting landing page. Happy designing!
Unlock the Secrets to Skyrocketing Your Email Open Rates! Discover expert tips and AWeber’s powerful tools to enhance your email marketing strategy.